Look for salt pork that is roughly 70 percent
fat and 30 percent lean meat; leaner salt pork may not render enough
fat. If it is difficult to slice, put the salt pork in the freezer for
15 minutes to firm up. Use high-quality imported Pecorino Romano—not the
bland domestic cheese labeled “Romano.”
Ingredients
- 8ounces salt pork, rind removed, rinsed thoroughly, and patted dry
- 1/2cup water
- 1/2teaspoon red pepper flakes
- 2tablespoons tomato paste
- 1/4cup red wine
- 1(28-ounce) can diced tomatoes
- 2ounces Pecorino Romano, finely grated (1 cup)
- 1pound spaghetti
- 1tablespoon salt
Instructions
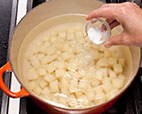
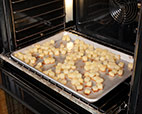
- 1. Slice pork into ¼-inch-thick strips, then cut each strip crosswise into ¼-inch pieces. Bring pork and water to simmer in 10-inch nonstick skillet over medium heat; cook until water evaporates and pork begins to sizzle, 5 to 8 minutes. Reduce heat to medium-low and continue to cook, stirring frequently, until fat renders and pork turns golden, 5 to 8 minutes longer. Using slotted spoon, transfer pork to bowl. Pour off all but 1 tablespoon fat from skillet. Reserve remaining fat.
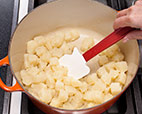
- 2. Return skillet to medium heat and add pepper flakes and tomato paste; cook, stirring constantly, for 20 seconds. Stir in wine and cook for 30 seconds. Stir in tomatoes and their juice and rendered pork and bring to simmer. Cook, stirring frequently, until thickened, 12 to 16 minutes. While sauce simmers, smear 2 tablespoons reserved fat and ½ cup Pecorino Romano together in bowl to form paste.
- 3. Meanwhile, bring 4 quarts water to boil in large Dutch oven. Add spaghetti and salt and cook, stirring often, until al dente. Reserve 1 cup cooking water, then drain spaghetti and return it to pot.
- 4. Add sauce, 1/3 cup cooking water, and Pecorino Romano–fat mixture to pasta and toss well to coat, adjusting consistency with remaining cooking water as needed. Serve, passing remaining 1/2 cup Pecorino Romano separately.
Technique
-
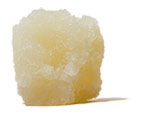
Pork versus Pork
Guanciale, which is made by salting and drying hog jowls, is the traditional choice for this dish due to its intense pure-pork flavor. Looking for something equally porky but more readily available, we turn to salt pork, which is also salt-cured but is made from the belly.
-
 GUANCIALE: Salted jowl.
-
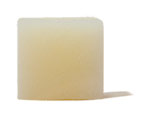
 SALT PORK: Salted belly.